Friday 26 April 2013

Book Review Friday - Stash Happy: Patchwork by Cynthia Schaffer


After a wonderfully relaxing trip back to the UK to see my fabulous family and funky friends; I am just catching back up with business here in Galway and have (as you will have realised) been terribly slow for the last week making and blogging. Alas readers, this is about to change... I have a new dog walking schedule (5am walks) then work for 7am and then the nights are stretching out leaving me with energy and LOTS of plans over the next few weeks for projects and blogs.

This week I'm looking at the lovely book by Cynthia Schaffer 'Stash Happy: Patchwork', Schaffer is a multi-talented lady from California who can do anything from quilting to rubber-stamping, photography to crochet. Her easy approach to projects and design is a sure sign of her expertise... as with anything in life, those who make things look easy or indeed offer the easy methods, know their stuff thoroughly and know every way of doing things and then can decide which is best to use!

Quite simply; Stash Happy: Patchwork is 128 pages of projects to aid the sewer in using all of her/ his stash- from the scraps to the unloved... there is something to do with these pieces of fabric gold.

Schaffer introduces herself and her ideas in the first few pages...


... coherently and charmingly. She explains her ethos... go with the flow! If you are anyway interested in what you're making, then you will love it. By all means, she advocates getting more information where you need it and learn as you sew but you must love what you're making. I really like her friendly tone and her ideas of where to find the fabric you could need are interesting too, it certainly extends what I thought of as my 'stash' and now I have a resource to use my 5x5cm scraps!

I really hate throwing ANY fabric away and actively and frugally cut out patterns by salvaging as much fabric as I can, I have a massive bag of tiny pieces of pretty fabric... This is my type of book.

Projects


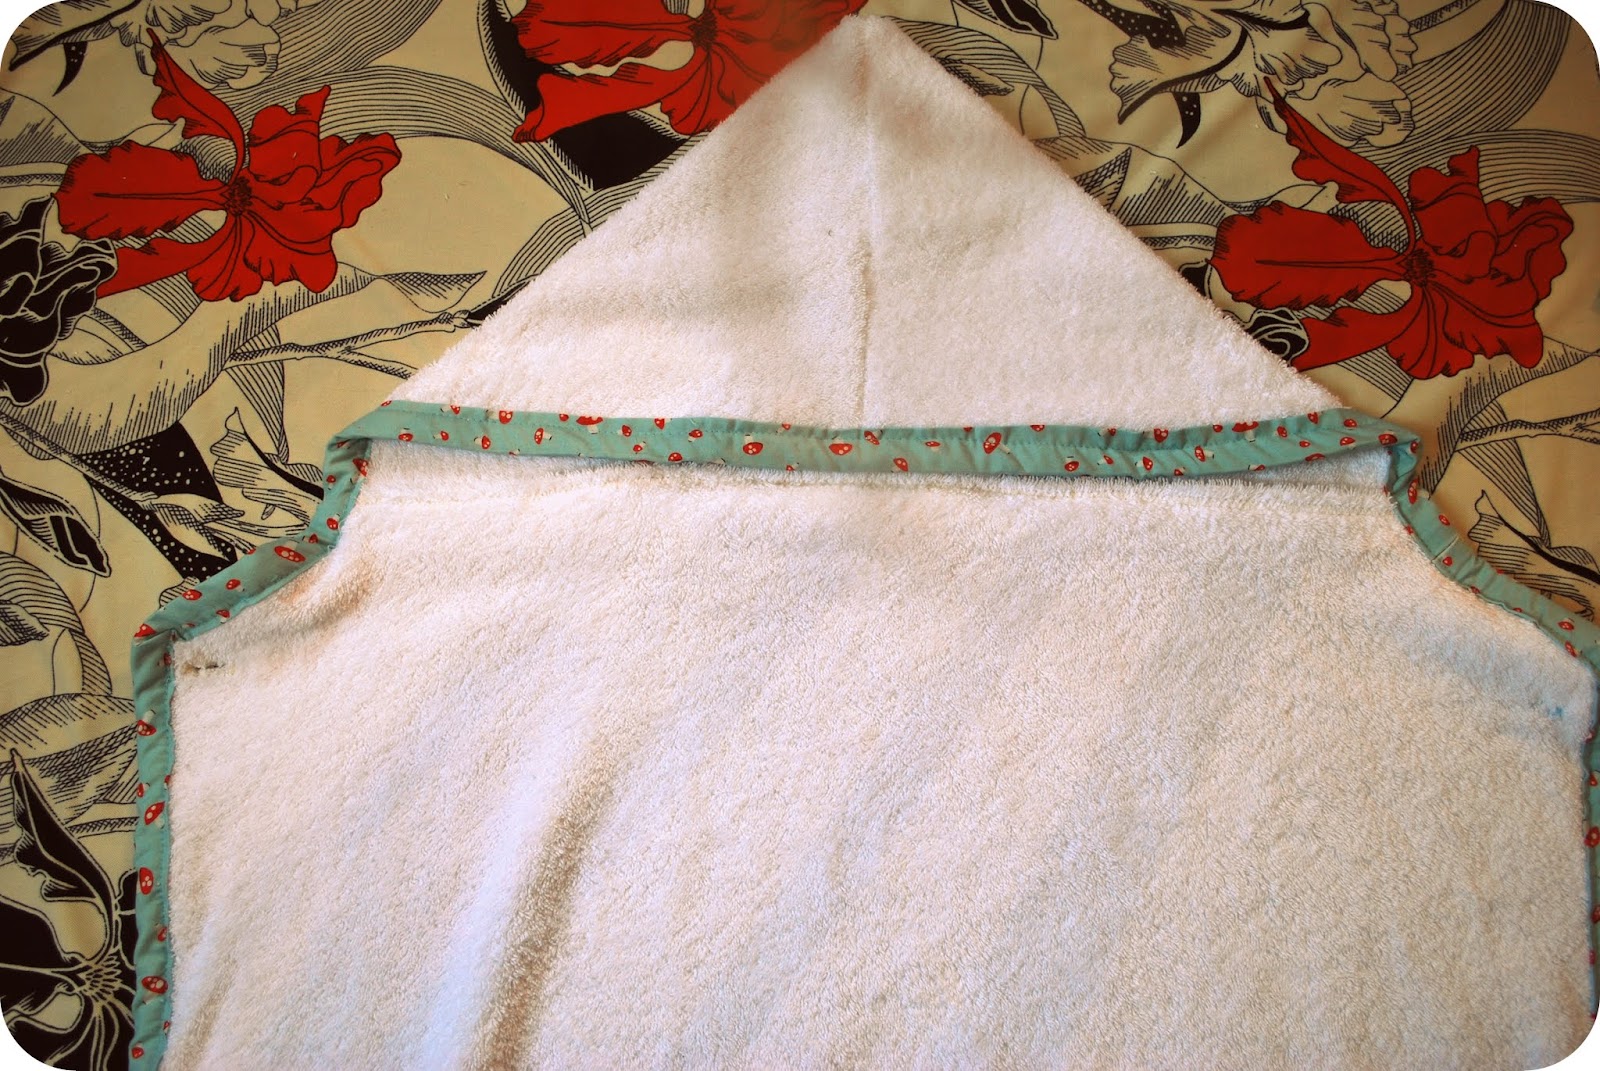
I highly rate the projects that are displayed here- As I have recently completed my first ever quilt, I can firmly support it's art and the UTTER satisfaction of making a quilt, and its a lovely craft. However, how many quilts do you really need to make in your life? I know that you can be gifting them left, right and centre... dog mat, sofa blanket, cot blanket, picnic blanket etc... eventually you're going to run out of areas and friends to quilt for. This is why I am in utter admiration of the ideas offered here in this book.

On the picture above you will see a hint of quilt. Schaffer is giving the suggestion of quilting by a line of hexies as an accent to a plain white duvet cover rather than making the entire thing out of a hexie-fest. After 6 months of paper piecing and blanket stitching- you might just have your quilt! However, for sewing addicts who like to have a fix QUICK, the accents of hexies are a lovely idea!

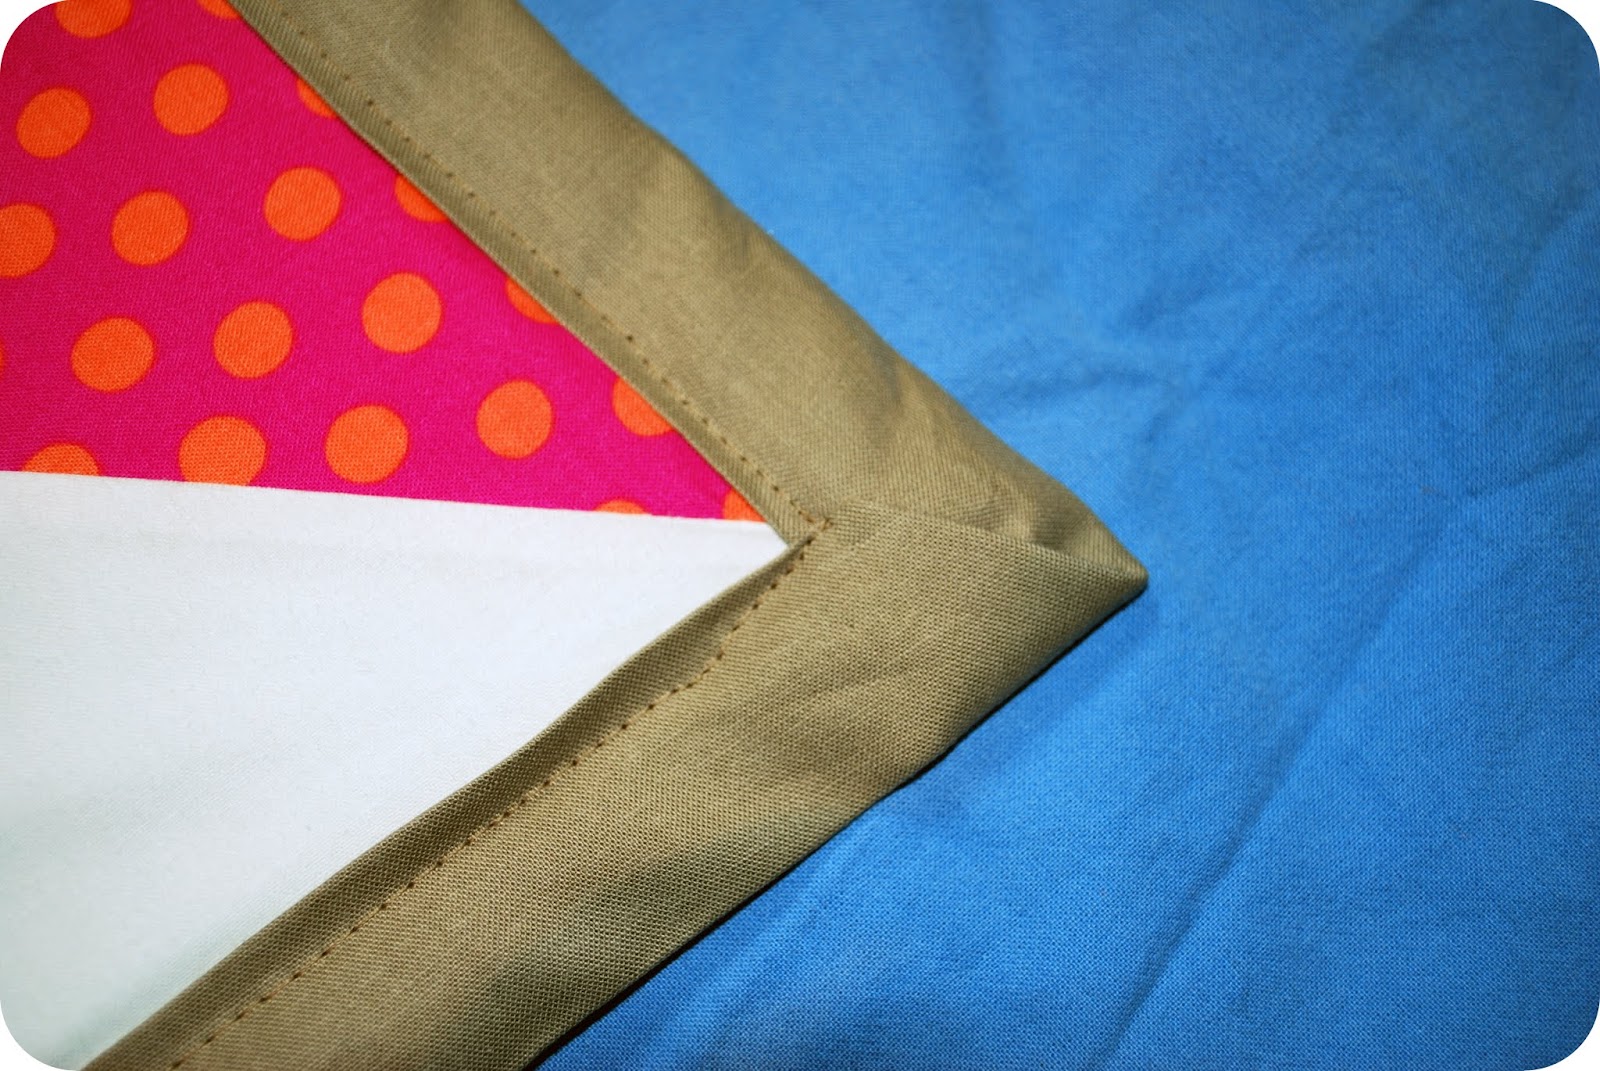
Other ideas offered:
  • Boys and Girls clothes with quilting accents
  • Apron
  • Table linen
  • Ladies skirt
  • Organisers
  • Bags

All achievable, pretty and easy. None of the projects seem like they are trying to shove quilting where it doesn't belong, they are complimenting your home and life rather than hindering it and by the very fact that it is all aimed at stash busting, even better!


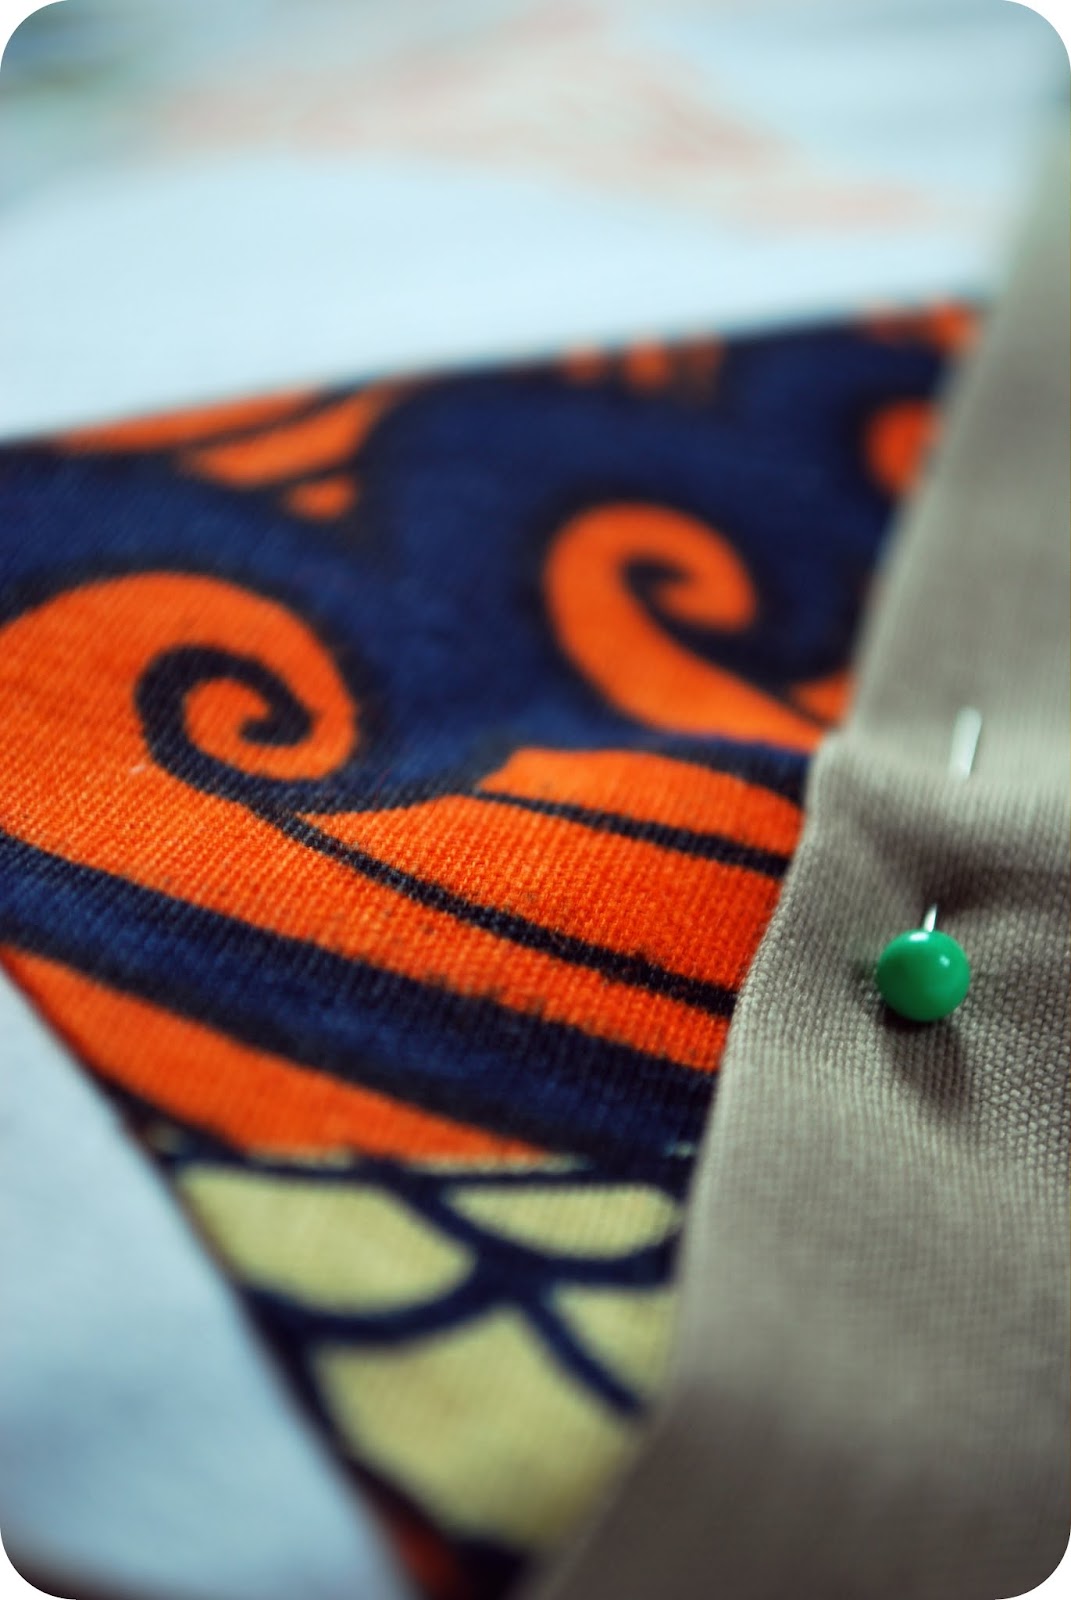
So, over the weekend I am going to make one of the projects that I have fallen head over heels in love with....

Retro Apron!

I am aiming for a blue kitchen and have quite recently gained a passion for baking (Tea Cake, anyone?!), so I am busting my way through my blue fabric stash and going to rustle up a lovely apron as like the one featured on this page...


Conclusion

I love this little book! It makes me happy to flick through it's pages and make something that I know would continue to make me happy. Ideal for the hoarder, thrifter and weekend sewer alike... I'd say go for it!


** All photographs copyright of Lark Publishing**


Bundana
X

Saturday 20 April 2013

Book Review Friday: Junk Genius: Stylish ways to repurpose everyday objects by Juliette Goggin and Stacy Sirk


Junk Genius is the book that I am reviewing this week!

I love the idea of turning old and unwanted into new and useful, rather than just buying through ease. I am really starting to get a buzz out of looking around my life (not just in the mirror) and thinking "I made that". 

As a dressmaking enthusiast, I thought that this book would help me add to adapting my own jewellery, shoes and give me some ideas about additions to clothing. The book did do this, but not in the way that I expected... let me explain, so I'll start from the beginning....

Layout


Compromising from paper to metal to crystal and glass, the book uses what material you have managed to gain and give some inspiration using that as the basis of the upcycled object. Aesthetically pleasing and aspirational in its design.

So you have a house, you have a material and this book will guide you through the making of a variety projects from the wearable to the usable.

Less words and more visual is this books aim of direction, giving double-page spreads to illustrate ideas rather than text to talk through a technique step-by-step.

Tools of the Trade


The book lays out its 40 items of upcycling desire at the beginning, stating that if you have these 'easy to find' 40 items, then you can make anything inside the book with great ease. From old tape measures  (easy) to antique typewriter keys (not so), you can make jewellery to coffee tables.

Projects


As a seamstress, I love to see the fabric and the sewing ideas- I feel most comfortable making decisions about the suggestions and ideas with expertise, than some of the woodwork projects.

I love the Doily Curtain idea. SOOOO easy to collect, make and unique to wow your friends and neighbours! The tongue-in-cheek nod to the old ideas of presentation and using them in a new way is really exciting. Ikea told us to throw out our Doileys a few years back, now it's murdering gnomes for the sake of modernity- excuse me whilst I ignore them and just buy their cheap kilner jars! As pictured, the authors have used the Doilies as they come... but also suggest that the Doilies could be dyed into any colour. I particularly like the idea of dying the doilies into a variety of shades of the same colour, that would look really stunning in a colour-coordinated room. 

Some projects do not hit the mark... what I fail to understand is to render useful items useless. This is particularly highlighted with the suggestion of nailing antique bread pans onto a wall, vertically and placing tea lights into them... creating a wall hanging. What is wrong with the bread pan as a functional piece of kitchenalia?! I really don't like this idea as the bread pans actually are useful and wanted by a lot of people. I for one, would bake with an antique bread pan with happiness and pride.

Conclusions


I'm pregnant with a little girl, I won't be having my walls of my house unplastered- but I understand the message of seeing the beauty in the old and finding the use from it. What I know from experience is somethings are best left as a concept, with it's Instagram-type retro, cloudy, pictures... everything looks pretty, in real-life I'm sure that the novelty of exposed plasterboard walls would soon wear-off.

However, if you can look past the idea of learning to make something and just see this book as a 251 page catalogue of inspiration- then this book will serve you well... You'll be thinking differently of old canal boat painted buckets, seeing the potential in dilapidated lampshades and getting excited about broken chandeliers.


Bundana

X

Saturday 13 April 2013

The Hooded Towel. **Completed project + tutorial** from Martha Stewarts' Sewing Book

In order to show the book to it's potential and for something lovely to sew for my growing pile of bambina things, I thought that I would follow the inspiration and some of the instructions from the 'Martha Stewart's Encyclopedia of Sewing and Fabric Crafts: Basic Techniques Plus 150 Inspired Projects' book and make something.

I chose this project as I thought that it will probably not be something that I will be bought 10 of when little lady is here (like baby grows!), easily personalised and it's nice and clear to make!

Materials that I have used for this were...


I used a larger towel than required in the book, mine was larger than a hand towel but smaller than a bath sheet, so rather than using a flannel + hand towel, I cut the larger towel and used the cut piece as the flannel (face cloth) requested.

OK, so here are the instructions from me:

1. Get your towel and measure it, mine is 125 x 70 cm. If your towel is bigger or smaller, just make the proportional changes...


2. I cut it at 45 cm down the towel, leaving me with a 80 x 70cm piece and a 45 x 70cm piece


3. Then I cut 8cm off each side of the 45 x 70 cm piece, leaving me with a 54 x 45 cm piece of towel


4. Fold the side in half (my 54cm side) and sew across the top with a 1.5cm seam allowance and then zigzag shut the seam.


5. You can now unfold the piece and it will fall into place like a hood!


6. I then cut off a further 6cm off the base of the hood. 


7. Fold up remaining 4cm into a 2cm hem


8. Zigzag hem at 1.5cm. Cut some shoulders from the main body, I cut the corners out at 12 cm in my version, you don't have to do this... but I wanted to add a little bit of shape. Then fold down neckline 1cm. Zigzag carefully...


9. Place hood underneath main body, hiding the upwards turned hood hem.


10. Pin in place and stitch across with a straight stitch.


11. It will now look like this from the front...


and this from the back...


12. At this point, I decided to insert a buttonhole. The Martha Stewart instructions and version do not include a button, but I thought it would be handy... and look nice! 


13. I made my own straight-grain tape (as opposed to bias-tape) as I had no curved edges and could get away with a straight-grain tape. So, I cut 10cm strips to a total of 3m in length. I think sewed all the strips together.


14. Fold in half...


15. Then fold in on itself, like a take-away menu (!)


16. Then half it again, to make the tape. It takes about 25mins to do it this way. Put on the radio and make it bearable! 


17. Attach the tape to the hooded towel with pins. Stitch around the parameter- bevelling at edges...


18. Add the button....


...DONE!!


In regards to how the instructions helped me, the words needed some 'thinking' about as I said in my full review and some readers comments, the wording can be very strange at times and blunt. It wouldn't be a tone of direction that I personally find that easy to understand, first-time-round anyway. I think this is maybe where some very new sewers would get frustrated with the book. As I said previously, this book is for someone who has been sewing about 6 months (or 4 or 5 projects under their belt) as the terminology isn't always clear.

I think this is more an inspired piece from the Martha Stewart book, but I am so glad I have made it. I don't think I would have ever thought about hacking into a towel to make a baby/ toddler sized hooded towel.

Hope you liked my little excerpt from the 'Martha Stewart's Encyclopaedia of Sewing and Fabric Crafts: Basic Techniques Plus 150 Inspired Projects'. I do highly recommend this book to new(ish) and old seamstresses a like; it's a well-deserved addition to any crafty bookshelf!

I'm away for a week, there will still be a Friday Review next week... but other than that, I am taking 7 days out to spend it eating lots of family food and catching up with friends and family!

See you when I get back!

Bundana

X

Friday 12 April 2013

Book Review Friday- Martha Stewart's Encyclopedia of Sewing and Fabric Crafts: Basic Techniques Plus 150 Inspired Projects


Friday Book Review is with us again and it's another sewing book. Martha Stewart's book is this weeks' book to have a look at...


The Layout

Sewing books tend to have the same type of layout... going through every type of scissor, pin and fabric and helping the reader decide what to buy then onto the projects and techniques offered in that particular book. This book, however, hasn't actually got that addition at the start (it's at the back as an appendix) of the 'tools and notions' section and instead goes for directing the reader into what to do with their sewing and poses questions such as 'What do you want to get/ make from sewing?' 'Where will you sew?' and 'What would you like to start with?'.


I like this approach as the preliminary focus is not to aim for being a professional and full-time sewer- but to aim for finding your creative outlet and building on that. Some sewers will never use a sewing machine and just simply embellish table linen; others will create a totally homemade home... but the choice is ultimately yours to make and most importantly, enjoy.

Stewart then has a section of Techniques broken down into:

  • Sewing
  • Applique
  • Embroidery
  • Quilting and Patchwork
  • Dyeing
  • Printing

In terms of the techniques shown in the book, the basics are all there with some nice surprises. Basic stitches are shown in a black and white sketch showing insertion of needle to finish in a 1, 2, 3 step technique with a explanation beside it


Stewart's exploration of sewing is by no means exhaustive, it is however broad and with the inclusion of styles of techniques of different cultures in sewing, leaves the reader interested to research more as the appetite has been whet rather than totally fed. 
An example of this is the wonderfully presented 'Japanese Sashiko'; examples I have seen in quantity throughout my reading and researching of sewing but never under the umbrella term of 'Sashiko'.


Translated from Japanese for the term of 'little stabs'; Japanese Sashiko has a repetitive design creating beautiful designs that are modern, graceful and totally usable in any home setting. Suddenly after reading and seeing the Sashiko designs I am envisaging embroidering table linens, cuffs on dressing gowns or even a cafe curtain. Being 5 months pregnant I am fully anticipating embroidery as something that I can be busy with in my last month before little one is here. I am a HUGE fan of Emily Peacocks designs and have 'The Tree of Life' being delivered to me this week as a decorative wall hanging. However, such simple yet elegant designs as Sashiko allows for much more scope in your embroidery but still with the final results of quality and elegance. I am in love!

Followed by the techniques of sewing is the Projects section; broken down into Alphabetical themes from 'Animals' 'Wall Decor' (As A-Z as possible with sewing, I can't think of a stand-alone 'Z' subject... Zoo... but that would be Animals, anyway)

In terms of what is on offer in the book; Stewart mainly offers Home Dec and Gifts as her sewing projects. This is understandable as dressmaking is hardly covered at all in the book in it's speciality, rather, it is approached as another thing that you can sew. In the nature of the book, there are some 'Clothes' under the 'C' section. These are however more a token gesture rather than anything that I (personally) would bother to use any fabric actually making


However, there are projects on offer here for the novice to the adventurous sewer. I like the range of examples are where you can bring sewing into your home and how you can adapt  even the bought bed linen into something more personal and handmade.


Often, I think that there is a total change of tone and voice. The Martha Stewart company is a collaboration of editors these days who all have their area of expertise and some convey direction better than others. Some instructions are written too blunt and a novice sewer would be lost even on the first sentence on some instructions, where as others are very easy to follow.

Conclusion

I rate this book highly, I love the projects and the photography is beautiful and inspiring. I like the angle of allowing creativity to flow and a guide into bring sewing into your life rather than an instruction manual on how to be a professional seamstress.

The voice of the book can often be muffled and not clear to a novice seamstress, yet when the instructions are hitting the spot- this book is an inspirational delight.

I wouldn't buy this book as a first book of sewing. If I could imagine the reader of this book, they will have had their sewing machine for about 6 months, worked through a few simple patterns and now ready to move on and create unique pieces.

I am very happy to recommend this book to the readers of this blog!


Tomorrow, I am working through one of the projects on the book.

The Hooded Towel


See you then!
Bundana
X


Sunday 7 April 2013

Rainbow Quilt... Part IV... Complete!


It's finished and I am proud to show you the last stage of the making of my Rainbow Quilt!

First off, after finishing the formation of the quilt, I used my organic cotton batting and some REALLY fluffy (not organic) wadding. I created a batting-wadding-batting sandwich and then placed my front and back onto the sarnie. At this point I would just like to confirm that buying organic is really worth the extra cash, its luxurious and chemical free. I just couldn't source any organic wadding that would arrive in time, so I used some standard wadding from my local (and only) fabric shop I have available to me here in the West of Ireland.


When I had pinned everything together... I made, by hand, my own bias tape. I wanted to make 60mm bias tape, no bias tape maker goes up to that size, so I sat and made my own. Firstly I cut 12 cm strips, ironed them in half and then, like folding a letter... I pinned the bias together. Ironing as I went. It took some time and was a pain to do, but this is exactly the size I wanted- so worth it, ultimately.


I then pinned as I went, bevelling at the corners as I went. This bevelling wasn't as bad as I had dreaded and really looked the part, proper quilting techniques on show...


Then, with a deep intake of breath, I sewed it all together, ensuring that underneath of the bias tape was being caught as I went, which it was... yay.


I struggled with the tension of my Toyota; it seems to decide to change the tension randomly as I went along. I stopped, unpicked and re-sewed, however it did it again. In the end, I went with the flow of the tension changes and promised myself that when I get a new machine, I will go back and sort this out. It's actually not that bad at all; I just can't get it perfect which I always strive for. 

So here we are... this is my finished quilt! I am so happy with the finished size, colours and how the Klona Tan bias tape (and I also used this for the backing) has complimented the white and every shade of the spectrum of this quilt. 


The finished measurements are 110cm x 110 cm. Little lady can happily be crawling on, dribbling into and cuddling this quilt until she is well over to be saying 'I don't like it' (!)

So, Rainbow Quilt... done! I am really happy with the resources that I had available to me:

The Sewing Book by Alison Smith
The Ultimate Quilting Bible by Marie Clayton 

.... my book recommendations are always on the left of this blog on a slideshow, for your convenience!

Until next time…

Bundana

X